Input Forge - tutorials
End-to-end walkthroughs. Requires Godot 4.7+. See the API reference for exact signatures and the examples for runnable scenes.
1. Configure your controls in the InputMap
Define your actions in Project > Project Settings > Input Map as usual
(e.g. move_left/right/up/down, jump, dash).
For multiple keyboard players, bind one key per zone to each action: the Nth
keyboard event of an action becomes keyboard zone N. Example - bind jump to
Space (zone 0) and Enter (zone 1); move_left to A (zone 0) and Left
(zone 1). Add a gamepad event (button/axis) to each action too.
To script the InputMap from code (project bootstrap or tests), use
InputForgeMapWriter:
InputForgeMapWriter.set_action(&"jump", [
    InputForgeMapWriter.key(KEY_SPACE),
    InputForgeMapWriter.key(KEY_ENTER),
    InputForgeMapWriter.button(JOY_BUTTON_A),
])
InputForgeMapWriter.save()  # persists project.godot
2. Use the Input Forge dock
Enable the plugin (Project > Project Settings > Plugins). In Godot 4.7 the dock
registers as a native EditorDock titled Input Forge (left, upper-right slot)
that you can move and float.
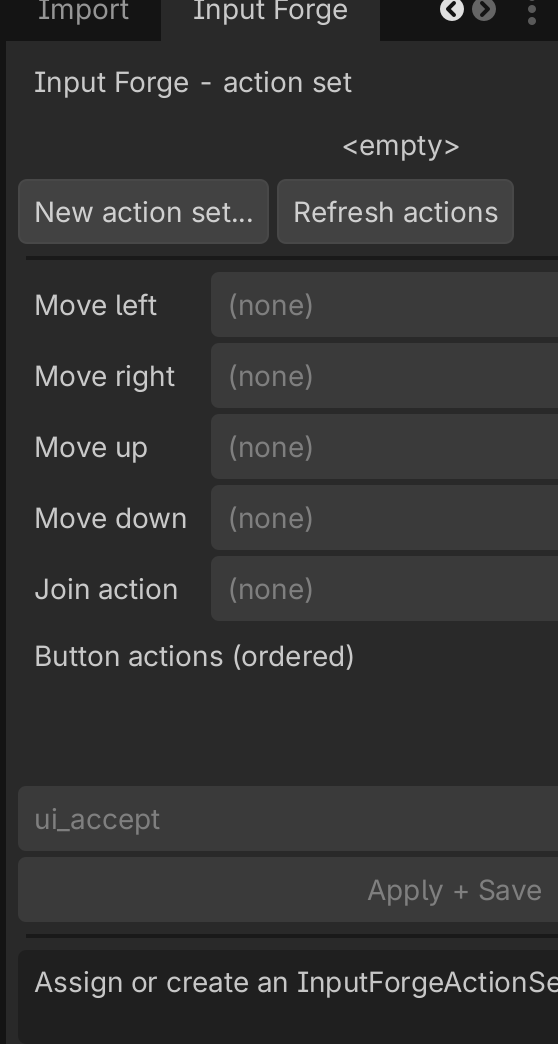
Create or assign an InputForgeActionSet, pick the four movement actions, the
join action, and the ordered button actions from the dropdowns (populated from
your InputMap), then Apply + Save. The dock previews the per-device bindings
Input Forge derives.
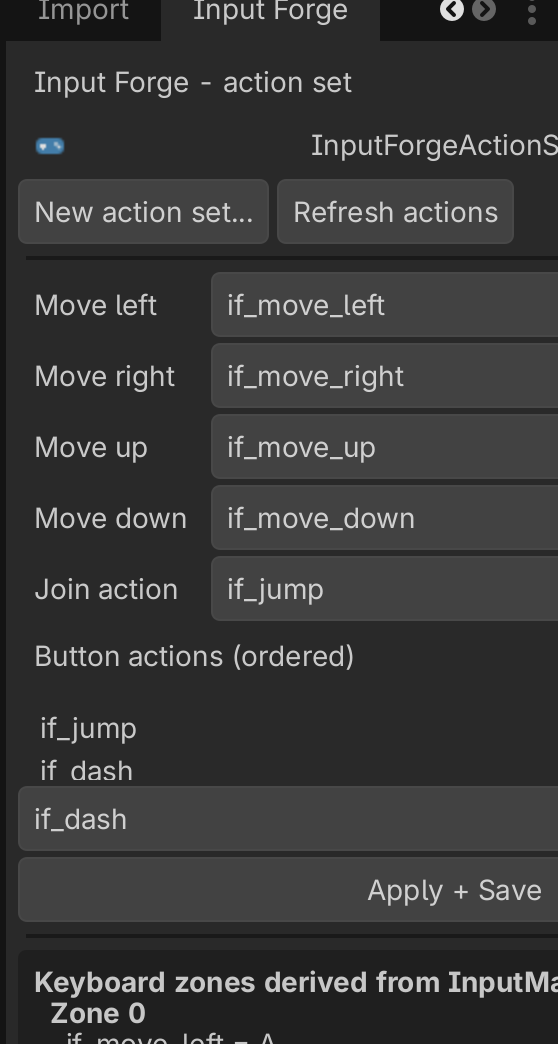
Screenshots above are captured from the running editor - see
docs/images/README.mdfor what to capture.
3. Couch co-op (local multiplayer)
The core loop: a join listener hands you a device + profile; you create one
InputForgeDeviceSource per device and poll it each physics tick.
var actions := InputForgeActionSet.new()
actions.move_left = &"move_left" ; actions.move_right = &"move_right"
actions.move_up = &"move_up" ; actions.move_down = &"move_down"
actions.buttons = [&"jump", &"dash"]
actions.join_action = &"jump"

var listener := InputForgeJoinListener.new()
listener.action_set = actions
add_child(listener)
listener.join_requested.connect(func(device, profile):
    var source := InputForgeDeviceSource.new(device, profile, actions)
    add_child(source)
    # Attach `source` to a player; each physics tick:
    #   var cmd := source.poll()
    #   move_player(cmd.move)
    #   if cmd.is_pressed(&"jump"): jump()
)
A complete, runnable version is in
examples/couch_coop.
4. Networking (authoritative server)
InputForgeCommand streams compactly: a move vector, a held bitmask, and per
-button wrapping 8-bit press counters. On the server, InputForgeNetworkSource
turns counter deltas back into press edges and drains one press per button per
tick, so an isolated press survives a dropped packet.
# server side, per remote player:
var server := InputForgeNetworkSource.new()
server.action_set = actions
# each packet (use an ordered channel, e.g. unreliable_ordered):
server.apply(move, held_mask, counters)   # counters: PackedByteArray
var cmd := server.poll()                    # reconstructed edges
Keep the action set to at most InputForgeActionSet.MAX_BUTTONS (32) when
streaming. A runnable, narrated demo (including a recovered dropped press) is in
examples/netcode/netcode_demo.gd.
5. Rebinding and persistence
Use InputForgeRebindCapture to capture the next key/button/axis, then persist
with InputForgeBindingsStore:
var capture := InputForgeRebindCapture.new()
add_child(capture)
capture.key_captured.connect(func(keycode):
    profile.keyboard[action] = keycode
    InputForgeBindingsStore.save_profile(device, profile)
)
capture.arm(device)   # disarm() to cancel
InputForgeBindingsStore.load_profile(device, defaults) layers stored overrides
on top of the derived defaults at load time.
6. Device prompts / icons
The default InputForgeIconProvider returns text labels ("KB0", "P1", ...) and a
ready-to-add prompt Control. Subclass it to inject your own art: